How to Plant Rhododendrons, Azaleas, and other Plants in the Pacific Northwest

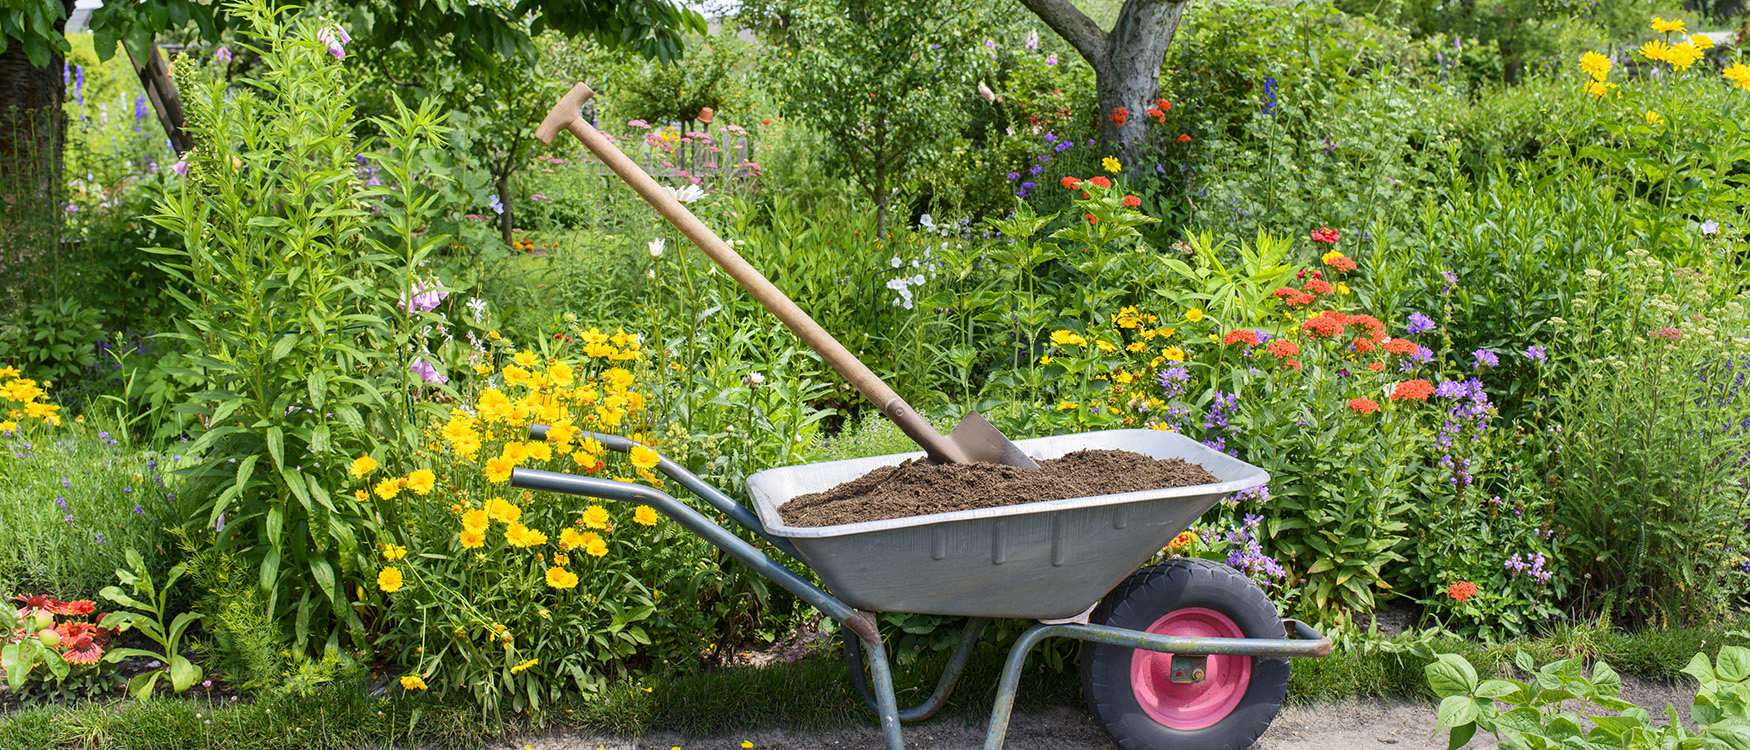
When planting Rhododendrons, Azaleas, and other plants, it’s essential to follow a few key steps to ensure your plants thrive in their environment. From selecting the right location and preparing the soil, to mulching, watering, and fertilizing, each stage of the process is vital for healthy growth. Proper site selection helps protect plants from environmental stress, while careful soil preparation ensures the ideal balance of drainage and nutrients. By maintaining these recommended guidelines by Whitney Gardens, you’ll foster robust, blooming plants that enhance your garden’s beauty year after year.

1. Site Selection

The site you choose must provide the type of environment necessary for your plant to establish itself and thrive. The site selection must either protect from damaging winds, shallow rooted trees, reflected heat from wooden or masonry walls, fences and buildings, or under a roof overhang where watering is a problem in areas too shaded to produce blooms.

Determine the surface and sub-surface drainage. Dig a hole, fill it with water and see how long it takes the water to disappear. Rhododendrons and azaleas especially will not do well in poorly drained soils. Too much water displaces all of the oxygen in the soil and the roots literally suffocate and rot. To correct poorly drained areas, build up the area with good soils directly on top of the existing poor soil.

2. Soil Preparation:

Rhododendrons should be planted in a porous, well drained acid soil (ph 4.5 to 6). Organic material should make up at least 25%-50% of the soil. This includes any natural materials as decayed leaves, compost, pine needles, sawdust, peat moss, rotted or processed manure and shredded wood/bark (salt free). Work into the soil to a depth of at least 15″- 24″.

Also add sand and gypsum to heavy clay soil to improve drainage and reduce compaction. Add humus to sandy soil for moisture retention and nutrient-holding capacity. You must provide a comparable interface between the root ball and the surrounding soil, which will facilitate water movement between the two.

3. Planting:

Plant Preparation – If the root ball seems dry, soak it in a tub of water for approximately 30 minutes. If the root ball has burlap around it, remove the ties especially from around the stem of the plant. Both burlap and ties can totally be removed, if you choose to do so. Expose root ends by washing with a forceful stream from a hose, or by using a claw or some type of implement for removing the outer soil.

Dig and Plant – Dig a large enough hole to provide growth room. Plant the root ball level with the ground surface or slightly above. Water the area and complete filling the hole, with the exception of transplanting fertilizer. All granular fertilizers must be placed on top of the soil, around the drip-line of the plant and watered in.

4. Mulching & Weed Control:

Mulching – Mulch with 2 to 4 inches of oak leaves, pine needles, wood-chips, sawdust, rock or bark. This helps conserve moisture, keeping the soil cool and restricting weed growth. Make sure that the mulch does not bury the stem of the rhododendron and/or azalea.

Weed Control – Rhododendrons are surface feeders and should have limited cultivation. Weeds may be pulled or shaved off with a sharp hoe. Newspapers or landscape cloth can also be used under bark as a ground cover to control weeds. Chemical weed killers can be used, but be very careful, read the directions carefully.

5. Watering:

A new planted plant must be watered carefully. We suggest the ‘trickle down system’. Place a hose by the stem of the plant and allow the water to soak deeply into the root ball. for approximately one-half hour depending on the size of the plant.  It is best to water deeply every 6 to 7 days. Roots must also have air penetration between watering. An oscillating arm sprinkler and a soaker hose is also an excellent means of deep watering.

Water 3 1/2 to 4 hours at a time to meet requirements for an inch of rainfall per week.  Those plants located under trees will require a different set of perimeters for watering. Plants grown in containers must be watered much more frequently than plant grown in the ground. The smaller the container, the more frequent the watering.

6. Fertilizing:

Let’s examine the number configuration (10-10-6) on the package of fertilizer.  The first of the three numbers refers to nitrogen (N). This element is absolutely crucial. Plants use nitrogen to form proteins, chlorophyll and enzymes to reproduce living cells; in other words, growth. The next number refers to phosphorus (P), which produces early growth, roots and bloom.The last number refers to potassium (K), which helps to move sugar and starches throughout the plant. As a result, the plant grows roots and resists diseases.

There are different forms of fertilizers:

  1. Water soluble Fertilizers – the solution is applied directly onto the soil or container, or on the foliage, as nutrients are quickly absorbed and utilized by the plant.
  2. Dry granular fertilizers – applied directly around the drip-line of the plant and watered in. The granules dissolve slowly and last for several months.
  3. Controlled-release fertilizer – perpetually nourishes plants from 1 to ‘X’ number of months – ideally suited for containerized plants.

Plants may not need to be fertilized except to amend an unfavorable pH. However, newly planted shrubs should have fertilizer before bloom and after bloom. We begin to fertilize here when the soil temperature is about 60*F., which normally happens in late March or early April. Another application is given in mid-May and the final one in mid-to late June. Very little fertilizer is applied past July 4th. Plants need to harden off. Shorter days and cooler nights naturally activate this process.

If you are not sure what fertilizers to use, have your soil tested. Contact your local County Cooperative Extension Service for labs that will provide soil-testing services.

What our Visitors are Saying: “I adore Whitney Gardens. The nursery has so many different varieties and colors of plants. Especially Japanese maples, rhododendron, and azaleas. The gardens are beautiful and you can enjoy them as much for their beauty as you can for inspiration before visiting the nursery. The staff is very helpful with everything from plant selection to loading and protecting your treasures for the journey home.” Jennifer S.